Spring Water Through the Seasons: A Yearly Checklist for Source Visits
October 29, 2026 - Local Discovery

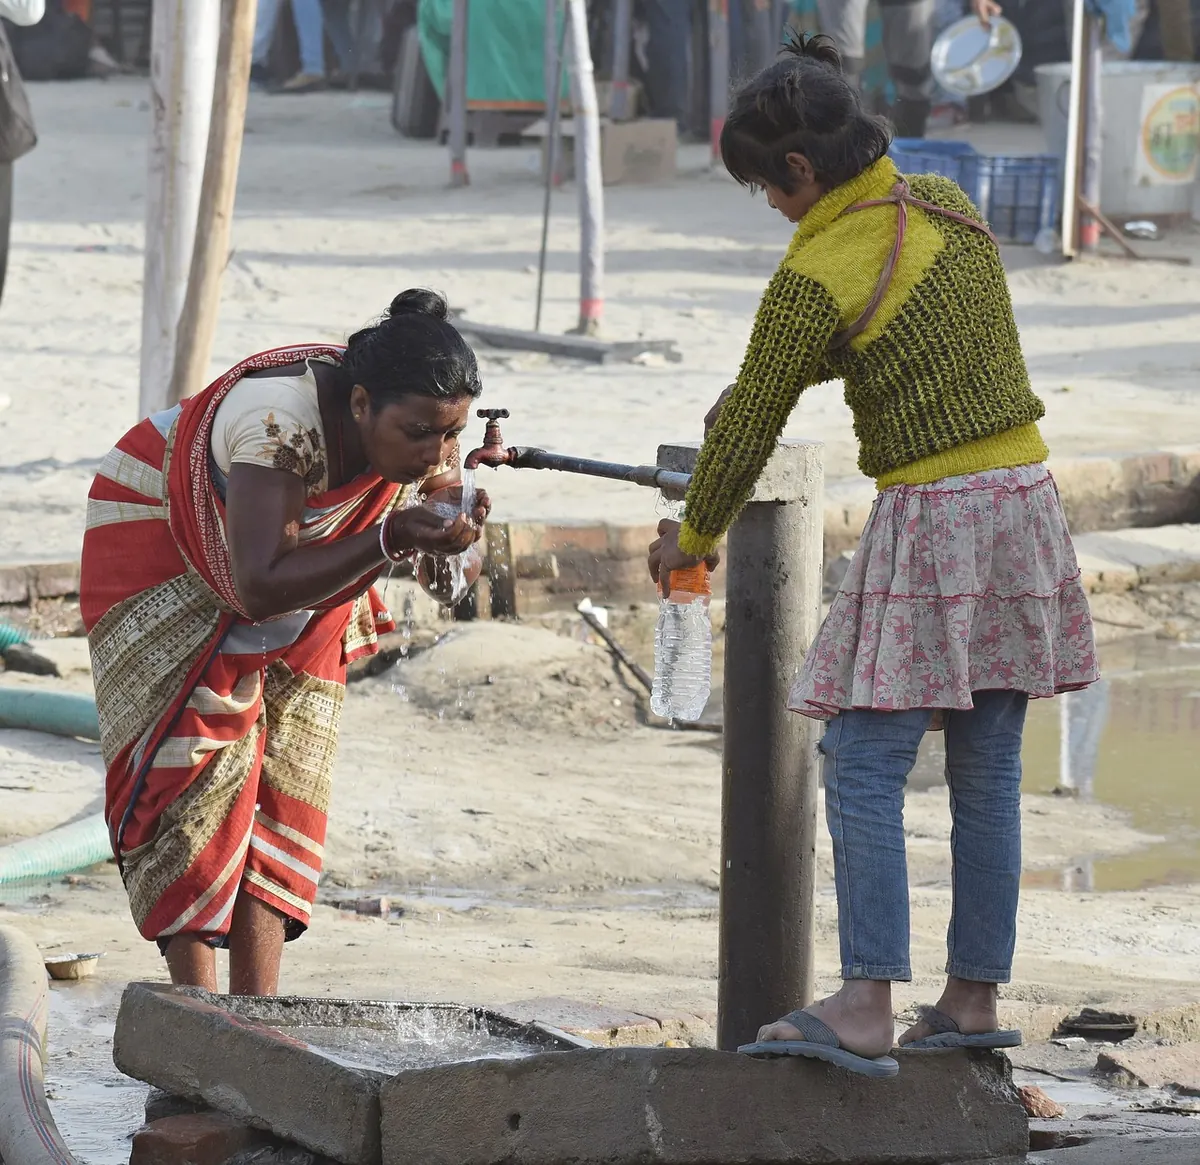
A spring can look like an invitation: cold water rising out of mossy stone, a dipper hanging from a branch, a narrow path worn into the grass. That picture is pleasant, and it says almost nothing about whether the water is safe. Springs pick up whatever the ground, animals, weather, and people around them contribute. Before you fill a bottle, treat the spring as a small local water source that deserves a careful look. This checklist is a field guide, not a guarantee; it helps you notice risk and decide when to test or walk away.
Use this sequence at every new spring, and repeat it when the seasons change. The order matters: look for reasons not to drink before you look for reasons to relax.
Flow is the first practical clue. A healthy spring usually has a steady, readable movement—water rising, running, or pooling without sudden surges. Note the rate with your eye and hand: does it fill a bottle in roughly the same time as before? A sharp drop may mean drought, upstream diversion, or a change in the aquifer. A jump after rain may mean surface water is entering the spring, bringing soil and whatever else it picked up.
Recent weather matters. Heavy rain, snowmelt, and drought all change water quality. After a storm, cloudy water or a burst of debris is a warning, not a quirk. Wait for the water to settle, then reassess. If the spring runs cloudy for days, find another source. Watch for stagnation, too. A spring that trickles into a warm, shallow pool with leaves and algae is different from a cold, brisk outflow. Cold water is not proof of safety, but warm, stagnant water with organic matter deserves extra caution.
Clarity is easy to judge and easy to overtrust. Fill a clear bottle or look through a thin layer of water against a white background. Clear water is a good start, but it can still contain bacteria, viruses, parasites, nitrate, or dissolved metals. Cloudiness, suspended sediment, a green tint, or floating flecks all point to particles that may carry contaminants.
Color has meaning. A faint tea color from leaves is common in some woodland springs, but it can also signal organic material and shallow flow. Rusty stains on stones may suggest iron; blue-green stains may suggest copper or scale. Neither tells you whether the water is safe to drink. Smell is a protective sense. A sulfur odor is common in some groundwater and is not necessarily harmful, but a sour, septic, musty, or chemical smell is a reason to stop. Do not use taste as a test.
Inspect the edges as well. Foam that persists, oily sheens, slimy biofilm, or bright green algae mats are clues about nutrients and surface contamination. A little foam at a riffle may be natural; foam that clings to stones and smells off is not.
Stand back and trace the land. A spring reflects its recharge area, not just the spot where it emerges. Look uphill for barnyards, grazing animals, wildlife trails, septic fields, fuel tanks, roads, construction, logging, mines, and cropland. Look at the immediate ground for animal droppings, burrows, dead animals, trash, and latrines. These are not reasons to panic, but they are reasons to test and treat.
Pay attention to how the water is collected. A well-built spring box with a tight cover, a clean overflow, and a protected pipe is easier to assess than water seeping from a muddy bank. If the collection area is open, cracked, buried in leaves, or used by animals, contamination has an easy path. A pipe that runs through a ditch or sits in standing water is vulnerable, too.
Check downstream as well. If the spring feeds a pond, livestock area, or road drain, backflow and surface runoff can affect the source. Walk a few dozen paces in each direction and ask what the water passes through before and after it reaches you. The answer often decides whether testing is enough or whether you should choose another source.
Testing replaces guesswork with information, but the right test depends on the setting. For a spring you plan to drink from regularly, start with microbiological testing for total coliform and E. coli, which indicate fecal contamination risk. Nitrate is a common concern in agricultural areas. Depending on local geology and land use, you may also want pH, hardness, turbidity, and tests for metals such as lead or arsenic. Pesticides and industrial contaminants require specific tests, so ask what is relevant in your area.
Use an accredited laboratory and follow its sampling instructions exactly. Clean hands, a clean collection point, the right bottle, the right hold time, and careful labeling all affect the result. A sample taken from a muddy puddle or a dirty bottle can mislead you. If the spring is a household supply, ask your local health or environmental authority which tests are recommended and how often to repeat them. If anyone in the household has a compromised immune system, is pregnant, or is an infant, seek professional health advice before drinking untreated spring water.
Home test strips and simple kits can be useful for screening, but they are not a full safety verdict. They may miss organisms or contaminants, and their accuracy varies. Treat a home result as a prompt to seek better testing, not as permission to drink.
Plan a testing rhythm. Test before first use, after a noticeable change in flow or clarity, after heavy rain or flooding, and at least seasonally if you rely on the spring. Keep a simple log: date, weather, flow, appearance, smell, and test results. Patterns will tell you more than a single snapshot.
Arrive with a clean bottle and a few minutes to spare. Stand upstream and look at the flow, the color, the banks, and the collection point. Smell the water.
Photo: AlfLucio / Pixabay
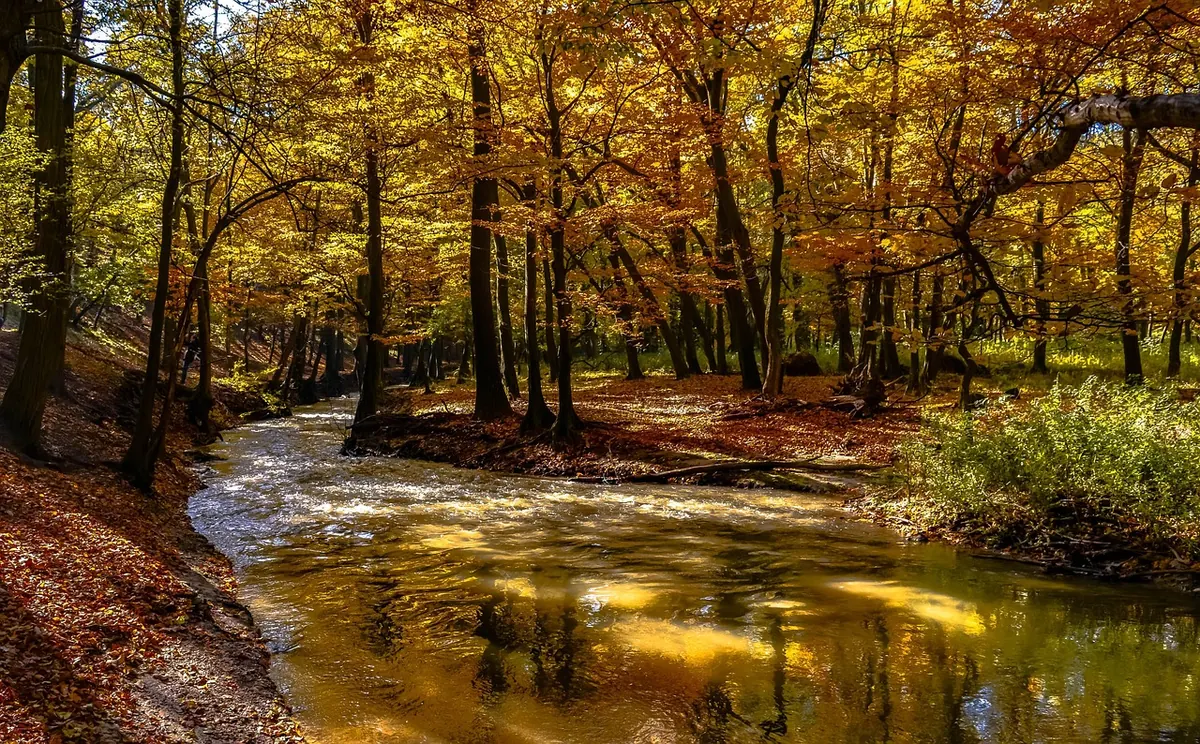
Plan spring visits by season: winter ice, spring mud, summer low flow, autumn leaves. A practical yearly checklist...
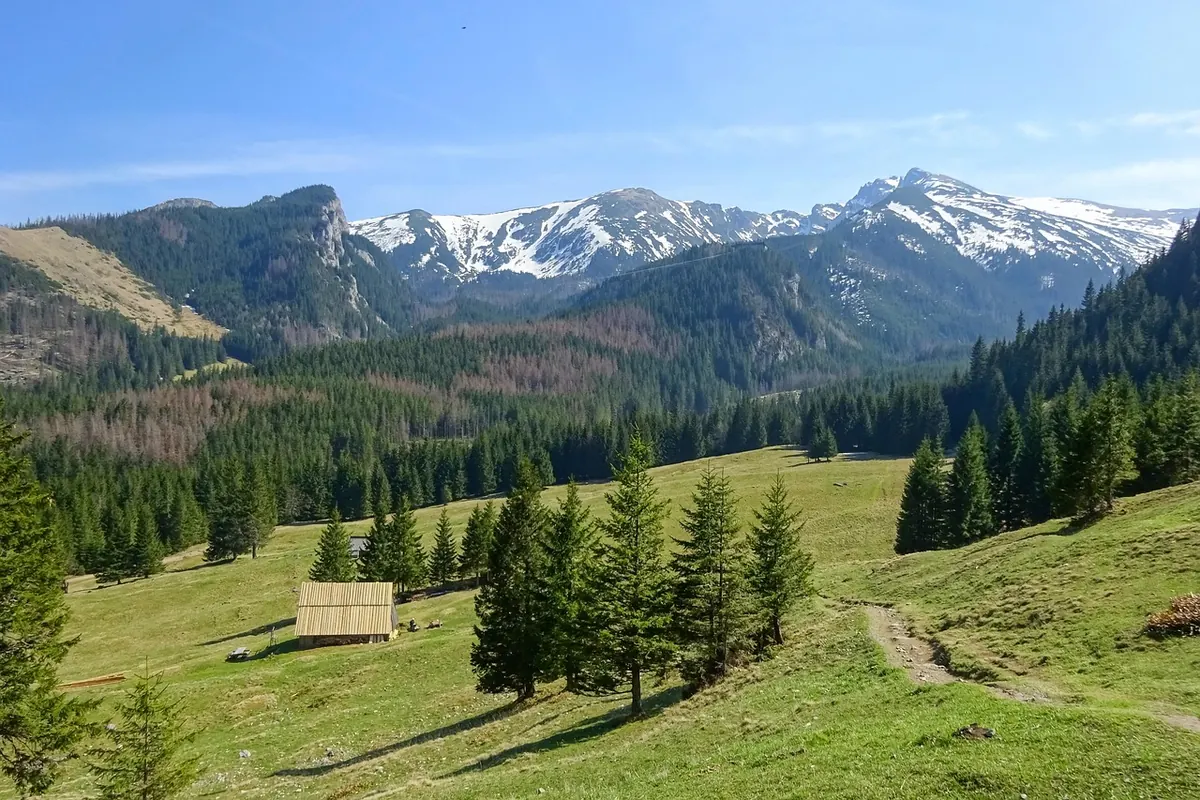
A practical guide to finding public springs near you, reading access signs correctly, asking landowners politely,...
Copyright © 2026 Vetrina Della Sorgente. All Right Reserved.